Today’s post is dedicated to our beautiful new chain!
Actually, this might be of interest to only a few of you since it is about marking our new chain and installing it. If that sounds super interesting to you, you are in luck!
We first posted on the Med Sailing Facebook page to request input as to what length and type of chain we should purchase. The top answers were 100 meters, 75 meters, and 80 meters. We decided to go with 80 meters of 10mm chain. Most people use HDG chain, but we decided to go with a new “solid zinc” chain that is made in Italy.
The next step was to buy it. Thankfully, the chandlery here at Ayia Napa Marina had two types of chain in stock, one of which we wanted. They delivered it to the dock by our boat the same day. It is beautiful! And heavy.
The next step was to remove our old chain and tie the anchor to the boat so it wouldn’t drop into the water.
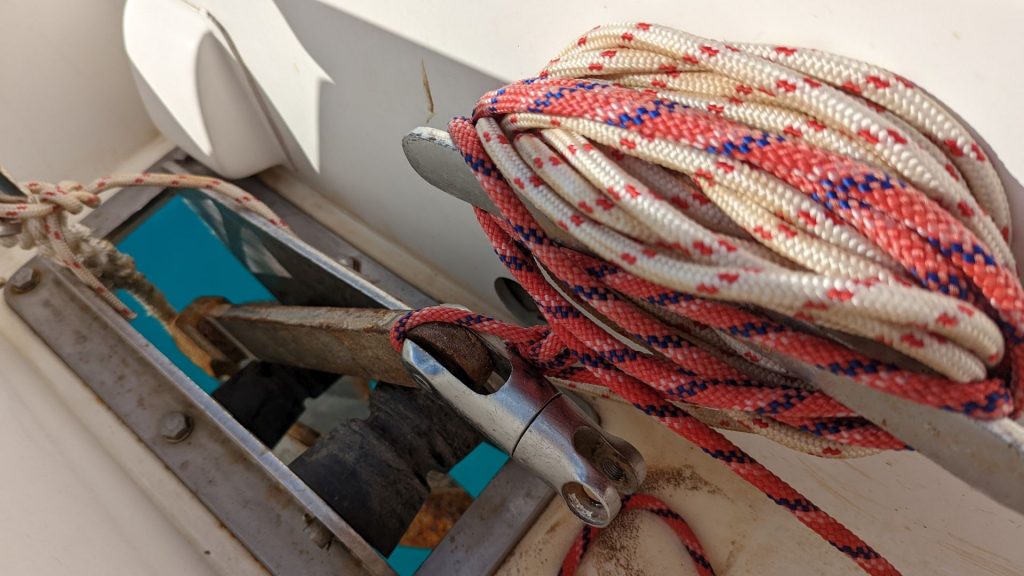
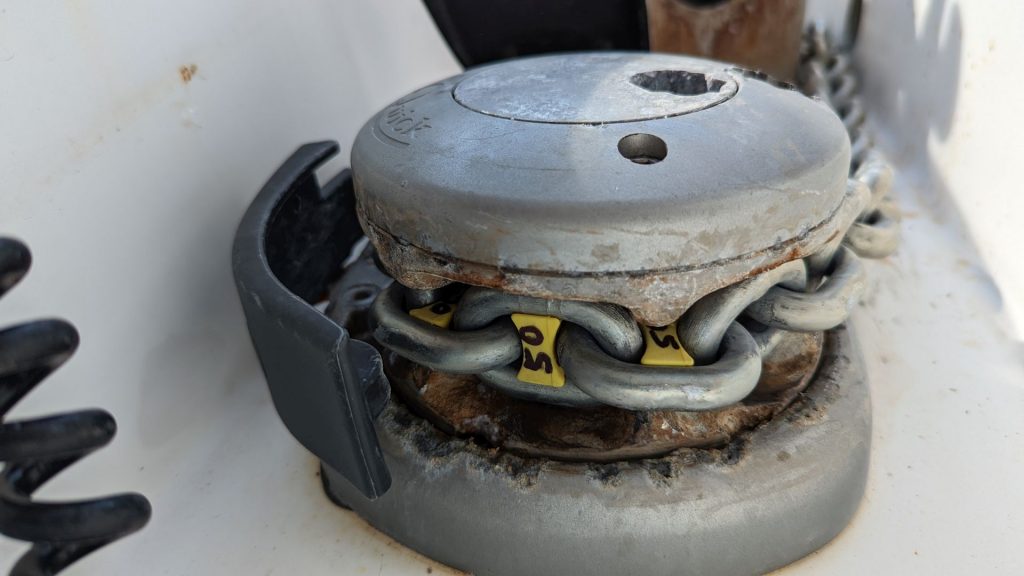
We then purchased chain markers and marked them with the number of feet of chain they represent. We chose to mark them at 15, 25, 50, 75, 100 and every 25 feet after that, to 225 feet. The 15-foot marker is to alert me that the anchor is close to the boat. The other markers will help me know how much chain to put out when we anchor.
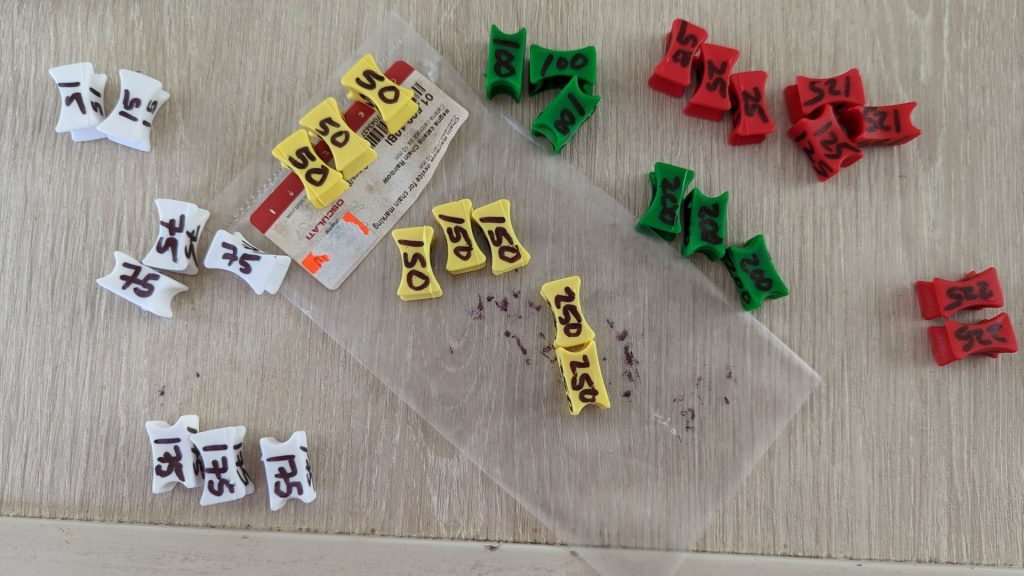
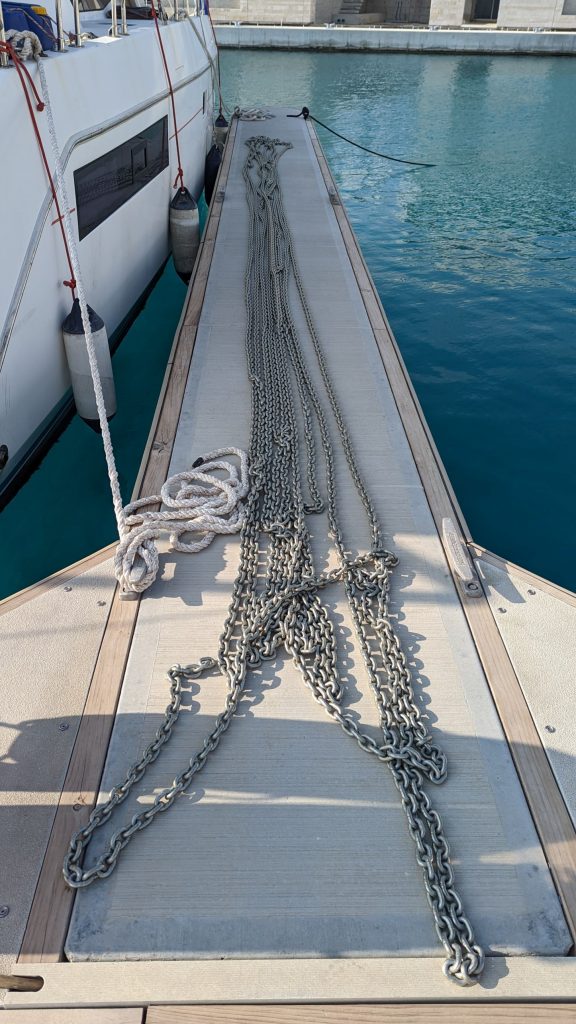
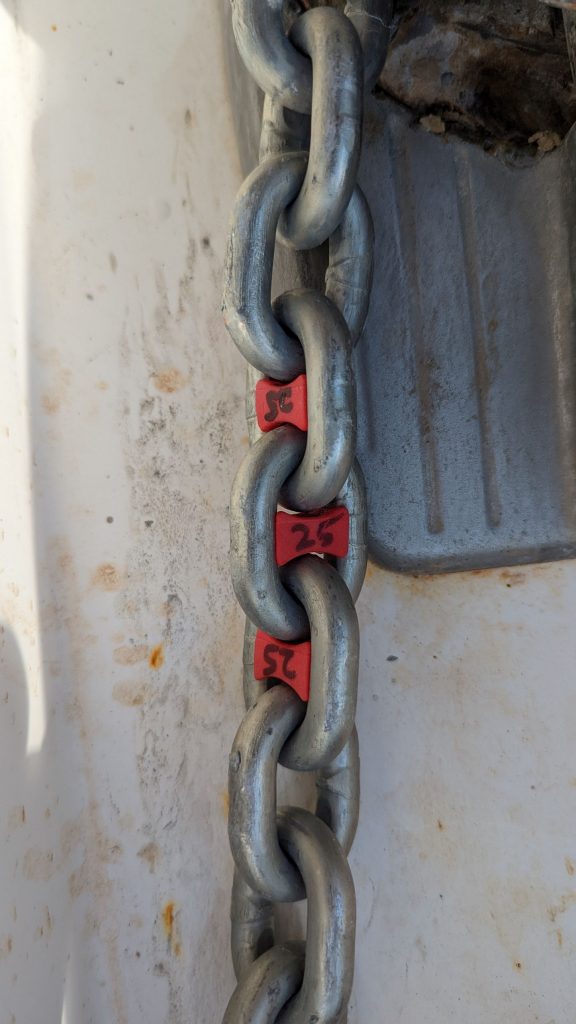
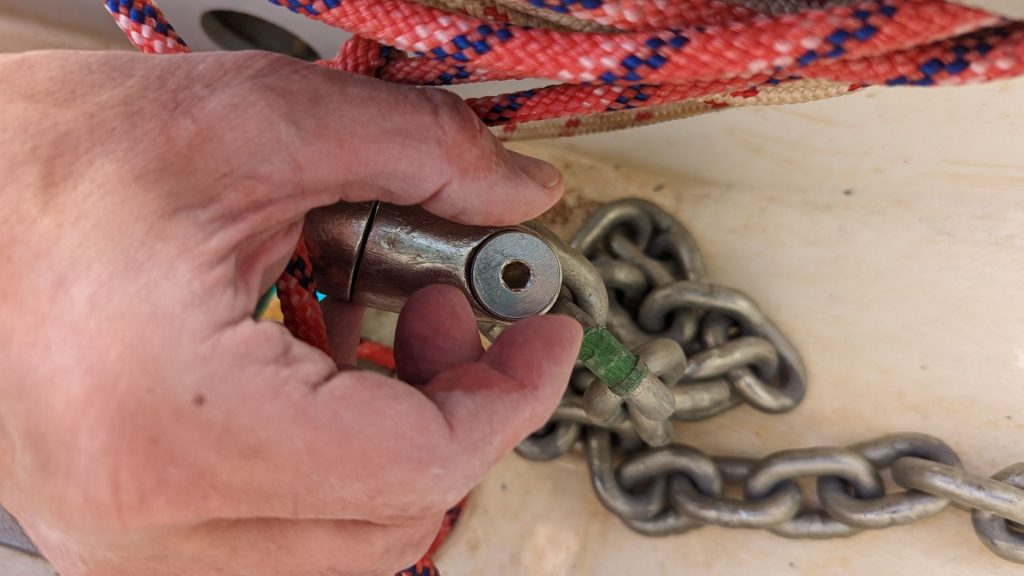
We then took our handy tape measure and inserted the markers in the chain links at the appropriate points. We placed three marks at every length so they would be easier to spot when the chain is running. This is what the markers look like when they are placed in the chain:
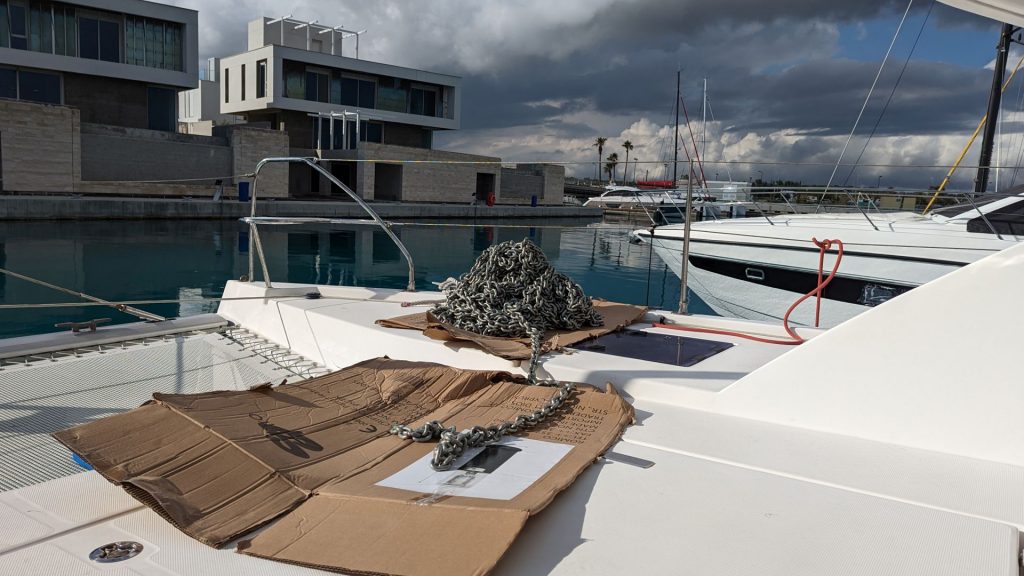
The next task was to get the 80 meters of marked chain onto the boat. We borrowed a couple of pieces of cardboard from the recycling bin to protect the boat. Michael handed me the chain from the dock and I piled it by the edge of the boat.

Then we moved the chain once more so it was close to the windlass. Keep in mind that we wanted the longest distance to go on the windlass first, so we’d initially put the chain on the boat with the “shortest” marker coming up last so that same “shortest” marker would be at the bottom of our second pile.
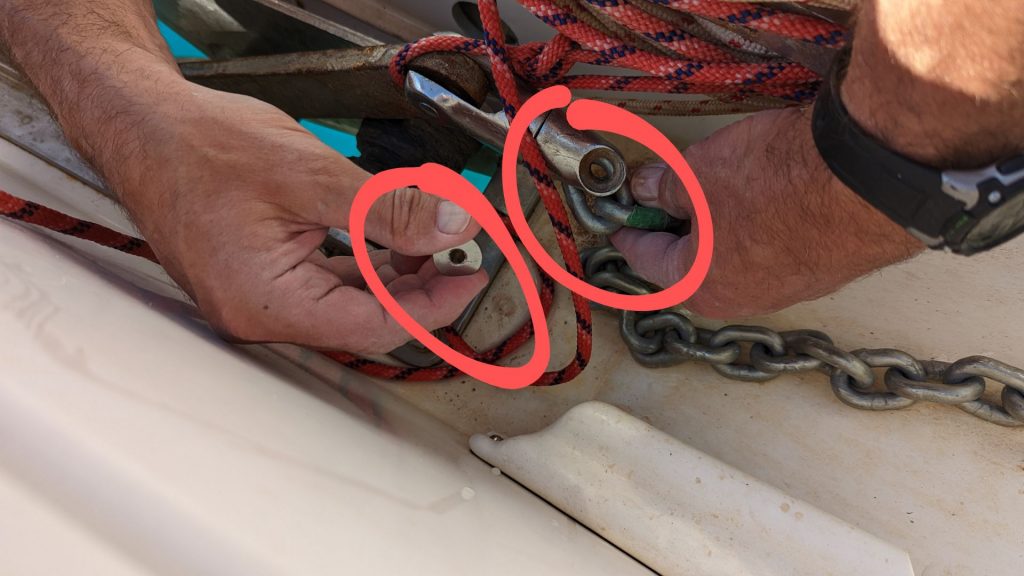
Once we had the second pile in place, Michael tied the end of the chain to the line (a short piece of rope) affixed to the boat.
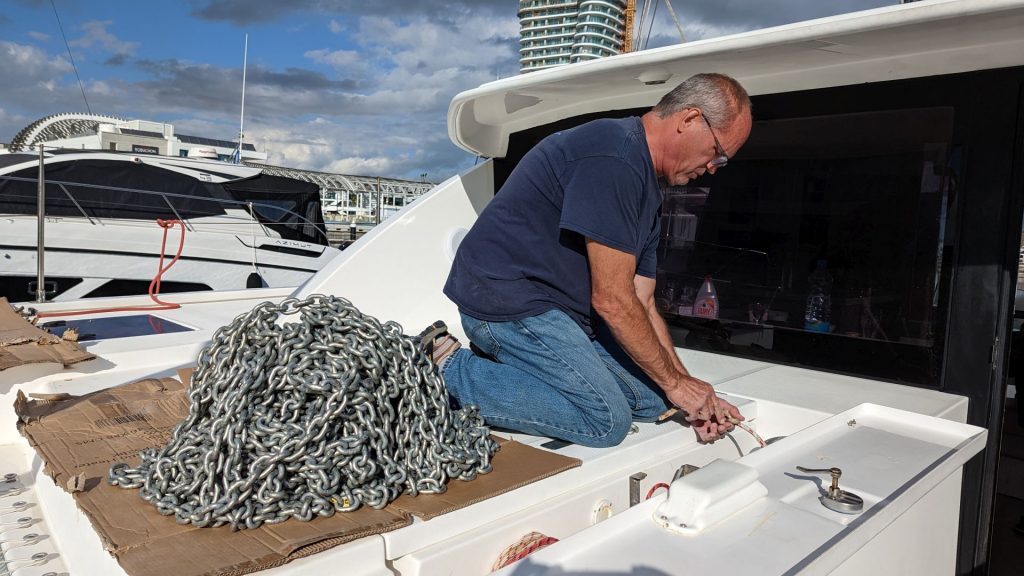
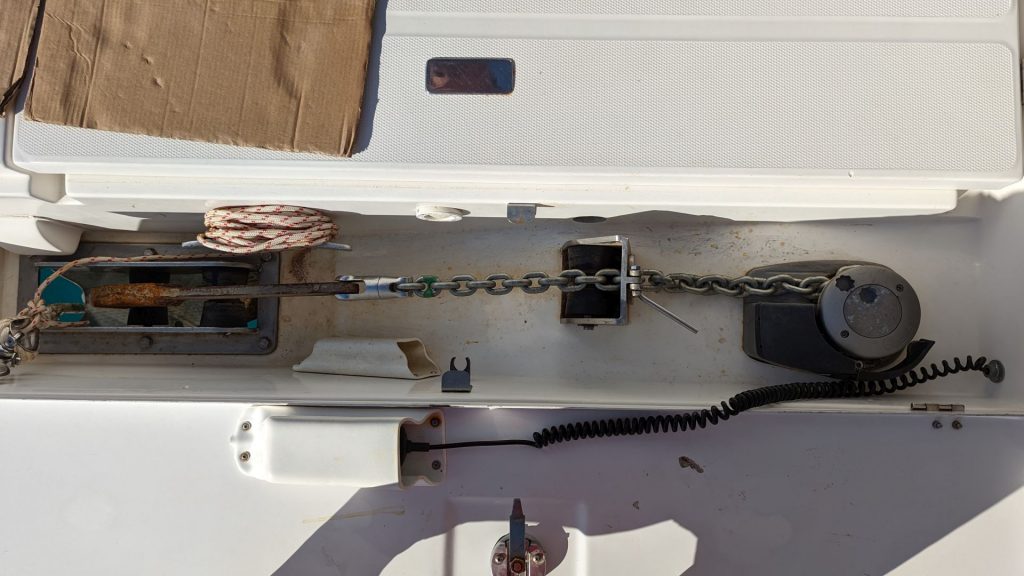
The next step involved using the windlass to pull the 80 meters of chain into the anchor rode locker. This is the same functionality one uses the windlass for when raising the anchor. You just push the “up” button!
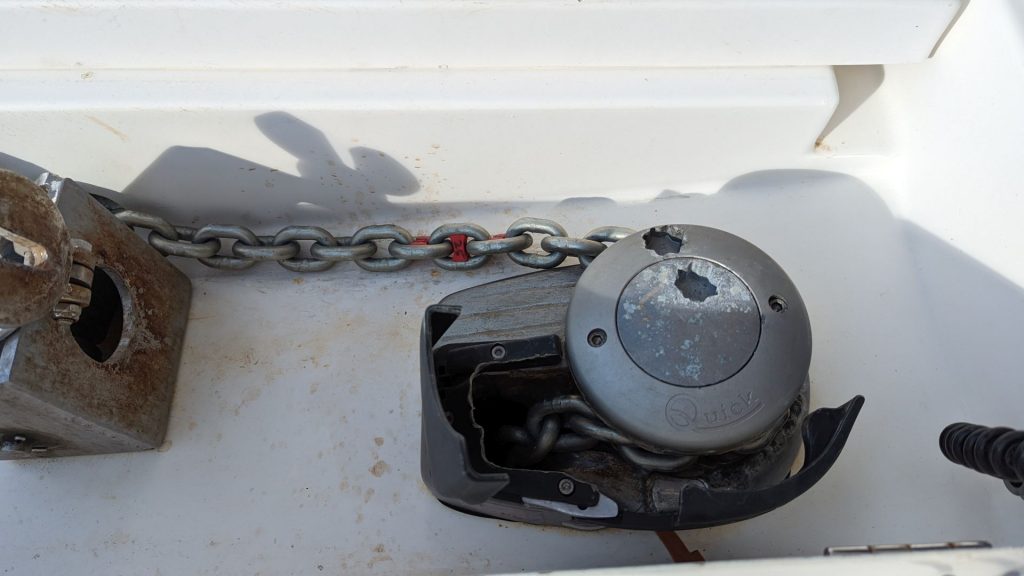
Once nearly all of the chain had been pulled up, we put the short length of chain through the hole (I don’t know what it is called) and then attached it to the anchor.
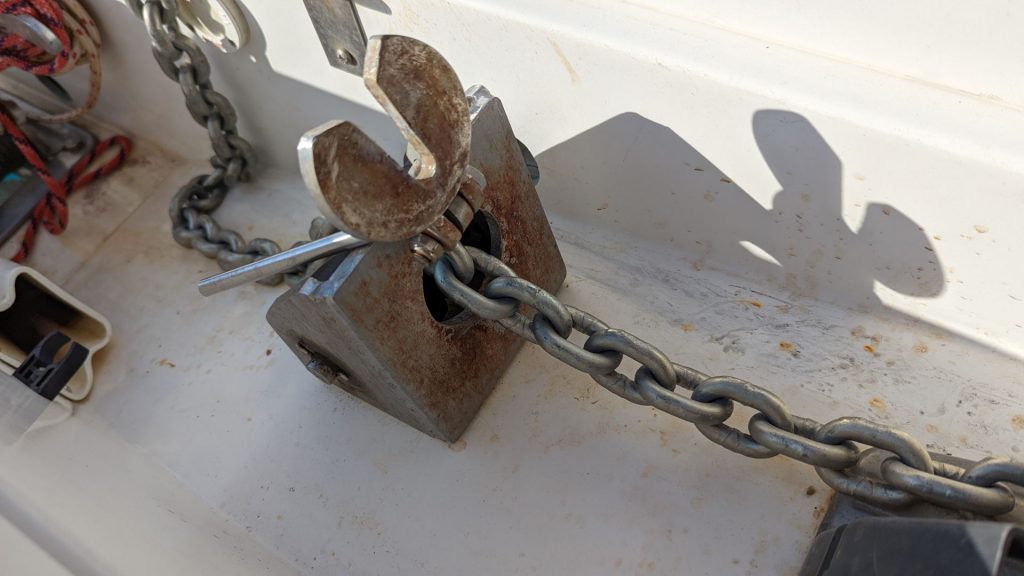
The last step was to remove the line we’d tied onto the anchor to keep it from falling into the water. And, voila, the new chain is ready for use!